Assembling One Tree Montessori Printables
Share
So you bought one of our (amazing) printables and can't wait to print it, put it together and use it!
First off, congratulations! We're so happy that you care about your child/ren's education. Because we care deeply, too, we do everything we can to make your life (and teaching) easier.
That's why each printable comes with clear, simple instructions for assembly and links to a detailed lesson how-to (with videos, because who has time to read these days).
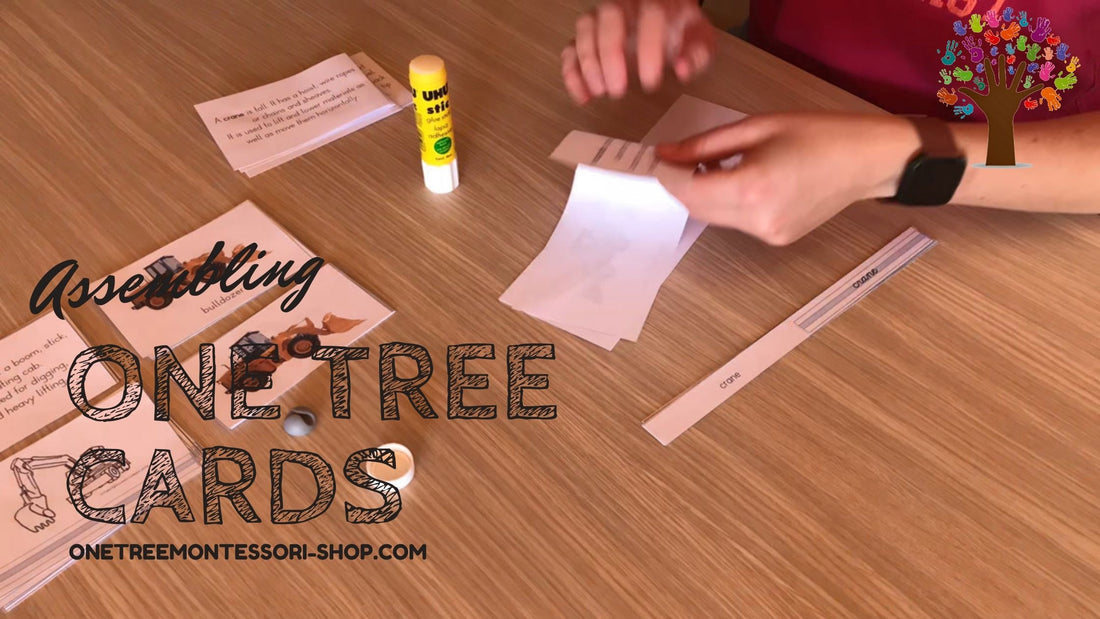
And then, in case you had a hard week and your brain is numb (we get you), here's not only a video for assembling our materials, but a step-by-step guide that'll only take you about five minutes to read!
How To Print
All our materials come as copy-protected PDFs. You should be able to open the PDF and just click >print without any problems.
Tips & Tricks
- Print a test page to make sure your settings are all good.
- We recommend printing on cardstock (160gsm) for durability, but normal paper (80gsm) works just as well.
- Some products have a double-sided layout option for the control booklet and labels. The instructions will tell you which pages to print for that.
- You can make use of this even if your printer doesn't support double-sided printing:
- print every second page from the start of the double-sided section;
- put them back in the printer so that the edge that came out first now goes in last, and the blank side is facing you;
- print the pages you skipped in the first round.
Troubleshooting
We can't help you with printer issues, but some images may not display or print correctly if you use a weird PDF program. The best is to use Adobe Acrobat or Preview (Mac only). If you see odd black squares on your printout, try printing from a different program.
Once your cards are printed, you can cut & laminate them!
How to Cut & Laminate
Single-Sided Layout
We recommend laminating after cutting because the booklet and labels will have to be folded & glued first.
- Cut on the black lines. You will get
- cards with pictures and the name;
- cards with just pictures;
- cards with just the name (print on one half, cursive on the other and a grey line down the middle);
- cards with just text;
- a cover card with the title and
- cards with text on one half, a picture on the other and a grey line down the middle.
- Fold #6 on the grey line (these will make the booklet).
- Fold #3 on the grey line.
- Laminate and cut out.
- Stack the cards from #6 so that each picture faces the corresponding text.
- Bind these cards to make the booklet.
Double-Sided Layout
You can laminate before or after cutting.
- Cut on the black lines. You will get
- cards with pictures and the name;
- cards with just pictures;
- cards with just the name (print on one side, cursive on the other);
- cards with just text;
- a cover card with the title and
- cards with text on one side and a picture on the other (these will make the booklet).
- Stack the cards from #6 so that each picture faces the corresponding text.
- Bind these cards to make the booklet.
And there you go! Now, head on over to our blog post on actually using the cards and let us know how you used the cards!